Arduino Course for Absolute Beginners 2nd Edition
29 Aug 20173min
What is Arduino?
Have you seen some really cool stuff being made with a thing called Arduino? What is Arduino anyway? It sounds like an Italian sandwich with extra cheese or something... Well - it's that and a lot mor...
28 Apr 20174min
How to change the font color in the Arduino IDE
Have you ever wanted to change the font color in the Arduino IDE? Maybe it is hard for you to read the light grey comments in the Arduino IDE, or maybe you prefer something a little bolder. Whatever y...
27 Apr 20174min
Use Serial.print() to display Arduino output on your computer monitor: Part 2
In many cases while using an Arduino, you will want to see the data being generated by the Arduino. One common method of doing this is using the Serial.print() function from the Serial library to disp...
26 Apr 20176min
Use Serial.print() to Display Arduino output on your computer monitor: Part 1
In many cases while using an Arduino, you will want to see the data being generated by the Arduino. One common method of doing this is using the Serial.print() function from the Serial library to disp...
25 Apr 20178min
How to make a secret knock detector to trigger anything with only an Arduino and a few cheap components
There are a couple good use-case scenarios for making a secret knock detector using an Arduino. You are a spy who needs to authenticate your cohorts You are a super hero who wants a secret knock to o...
24 Apr 201712min
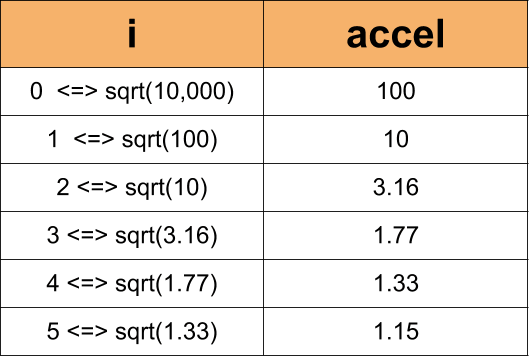
Arduino Pseudo Random Non-Consecutive Number Generator
In this video we demonstrate how to create pseudo random numbers with Arduino - with a useful twist. This lesson was inspired by the following viewer question: How do I create Random Non-Consecutive ...
23 Apr 201711min
A Review of Make: Magazine
I don't subscribe to many magazines, but I love my subscription to Make: magazine. And even though I rarely have time to sit down and enjoy a magazine in peace and quiet (parents forget what peace and...
22 Apr 20178min


